

Determined to get that fresh lick of paint on once and for all? Follow Richard Burr's step-by-step guide
So, a weekend's coming up when you've got nothing planned - time to decorate that room you've been putting off for ages. First, there are eight things you will need for decorating
1. Plastic sheeting
2. Masking tape
3. Light sandpaper
4. Screwdrivers to take down wall hangings
5. 4" paint brush, 2 x 2" paint brushes, roller and roller tray
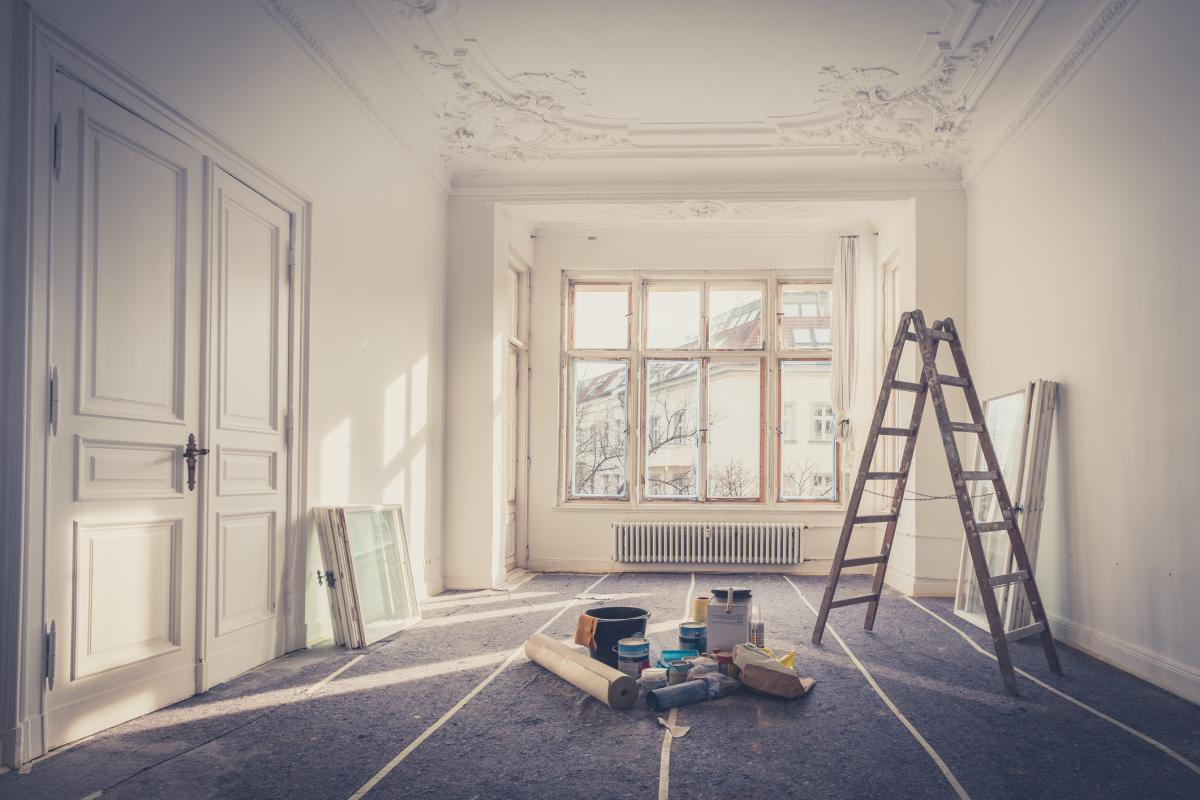
6. Step ladder
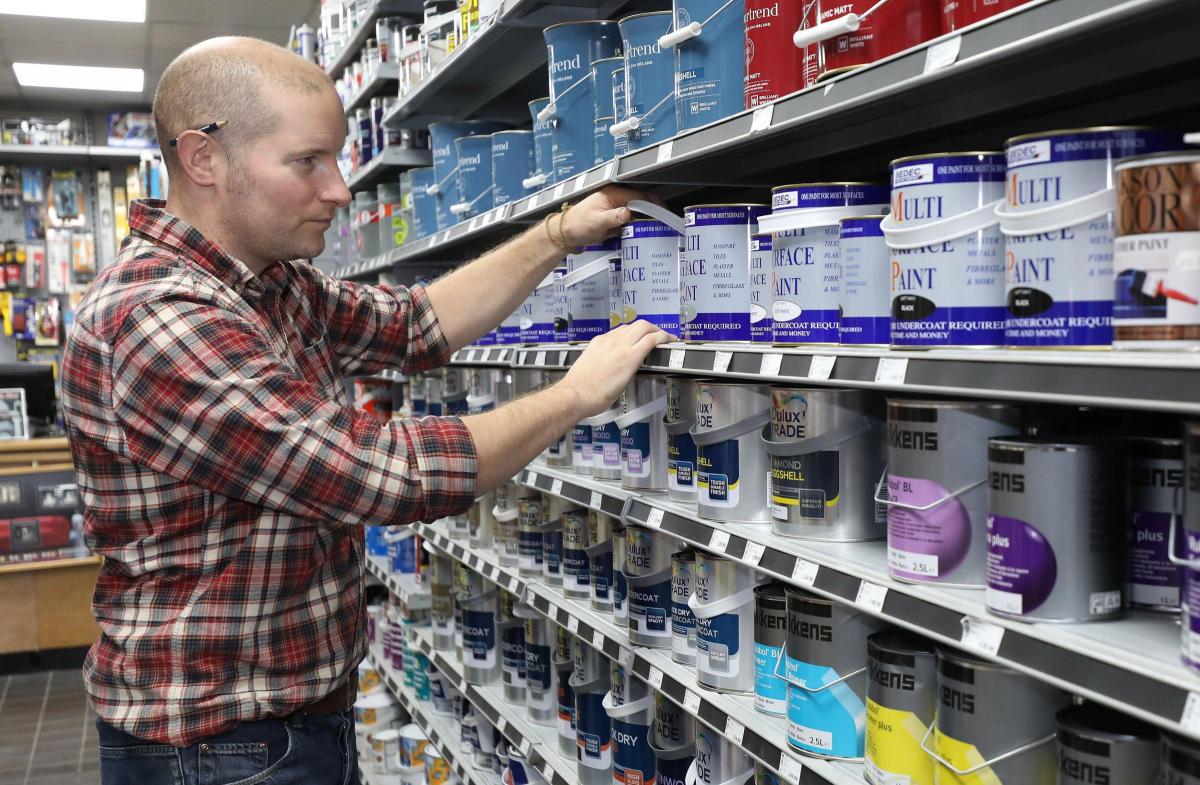
7. Paint
8. Undercoat and topcoat for the woodwork
To work out how much paint you need, calculate the area of your ceiling and walls, and remember you'll be doing two coats. A 5L tin covers about 50m2, but this can totally depend on the thickness of your paint.
I'd recommend using acrylic undercoat and top coat, as it has a quicker drying time and fewer fumes. Don't use an oil-based and an acrylic paint together. If you use an oil-based paint, you'll need white spirit. Everything else washes off with water.
Preparation is everything when it comes to painting. Start by moving all the heavy stuff (sofas, beds, bookshelves, TVs) into the centre, leaving at least a 30cm gap between your furniture and your walls all around. Next, take down any curtains, blinds or nets and lay these on the furniture. Now lay any wall hangings, pictures and light shades on your curtains, and cover the whole thing up with plastic sheeting. Try to avoid cotton or twill sheeting - this won't keep dust out or big blobs of paint (if you drop any).
Now it's time for a bit of sanding. Using 80-grit sandpaper, lightly rub all your woodwork. Make sure to rub only the face of the door that looks into the room, unless you're planning on decorating the hall too.
Once all the sanding is done, get the vacuum cleaner out and give everything a thorough clean. You may need to clean the woodwork with a damp cloth and some washing-up liquid.
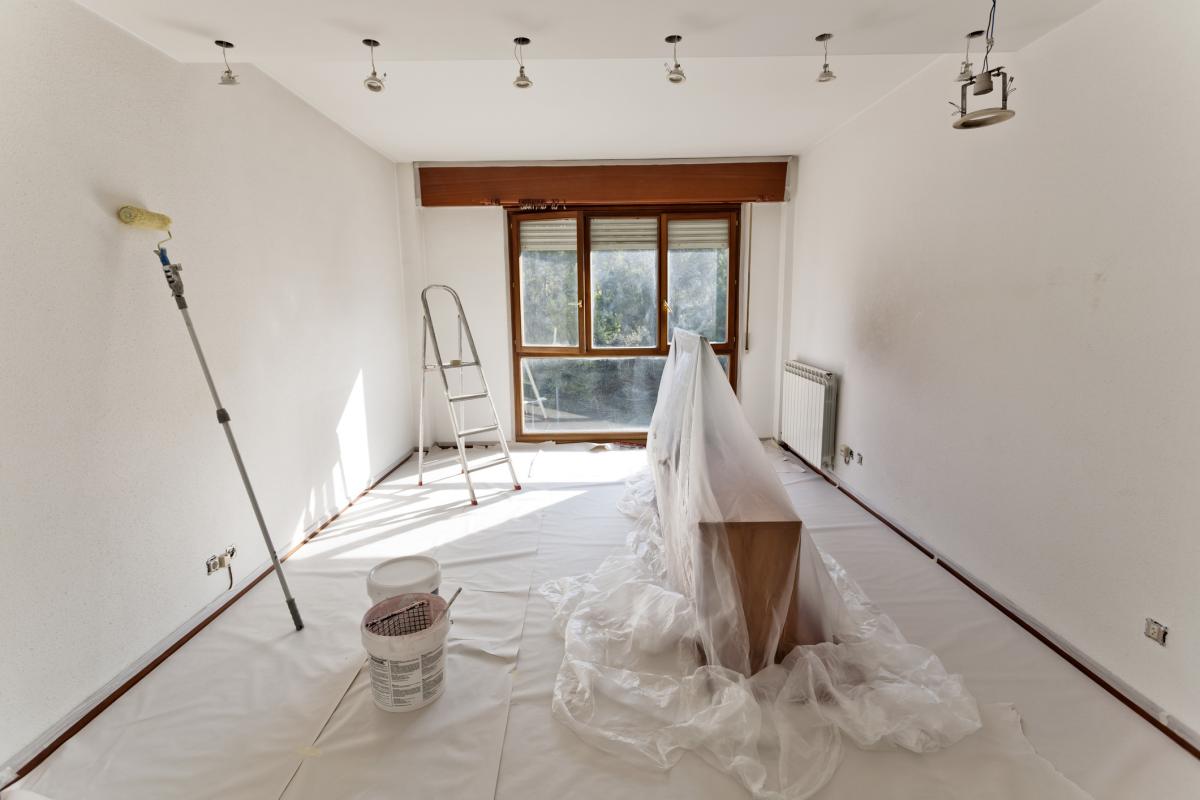
Now it's time for the masking. Use 50mm decorators' tape to mask where your floor meets the skirting boards. Whether your floor is carpeted or smooth-surfaced, it is a good idea to do this, as it stops drips and saves you from having to cut-in the paintwork against the floor. If you are planning on painting around wooden windows, you can mask these up too - it takes ages, but saves much more time in cutting-in and scraping paint off of glass.
With the masking all done, all you need to do is put plastic sheeting on the floor.
Paint the ceilings first - that way any drips or spots will not muck up other bits you've already done. Use a 4" brush to paint around the top edge of your ceiling. If you're painting the walls later, you don't need to cut this ceiling paint into them, as you'll be painting over the top. Once you've painted around the edges of the ceiling, use the same brush to cut in around any lights you have.
Pour some of your paint into your roller tray and begin painting the ceiling. Start in the corner and work outwards from there, painting in small sections and always rolling back into your wet work.
Once the first ceiling coat is done, wrap the roller in a plastic bag and start undercoating the woodwork.
Take your 2" brush and start painting the skirting. Because you haven't put any paint on the walls yet, you can coat the woodwork with no need to cut-in - this will make the work go much faster.
Once the undercoat is done, your ceiling should be dry enough to lay on your second coat. Use your 4" brush again to paint the edges of the ceiling, and then roller the rest. Wash the roller out and leave it to dry. You now have an hour or two to go outside and get some fresh air before you start the final stretch.
When your undercoated woodwork has dried, you can start painting the walls. Working on one at a time, use the 2" brush to cut-in the line between the walls, woodwork and ceiling. Once one wall is fully cut-in (including around the light switches, sockets and any wall-mounted light fittings), pour some paint into the well of the roller tray and start painting the wall.
Start in one corner and roll up and down, making sure you cover a roller width of the wall fully from top to bottom before moving on to the rest of it - this way, you'll always have a wet edge of paint to roll onto, which will reduce your chances of having any streaks. Once you've finished rolling one wall, repeat the cutting and rolling process for every other wall in the room.
By the time you've painted all the way around your room, the wall that you started on should be dry. Paint on a second coat then clean out your brushes and roller before the paint dries on them.
Now for the last bit of painting. Use some fine sandpaper to lightly brush any imperfections off your undercoated woodwork - don't rub too hard or you'll go through the undercoat and have to repaint it. Whichever topcoat you choose for your woodwork, be aware that it is most likely to drip easily, so be careful not to load too much paint on your brush.
For the last coat, use a 2" brush on the woodwork. Paint the architraves and skirting boards first - you can use your brush to wipe away drips you might not have noticed earlier on, if your paint is still wet.
Lastly, paint the door. Paint the mouldings around the panels first, then the panels themselves, then the broad strips of wood that make up the rest of the door. Brush the paint in the same direction as the grain of the wood.
Leave to dry fully before peeling off all the masking tape. After having protected your room for all this work, your plastic sheets will be in pretty poor condition, so roll them in on themselves to contain all the dust, paint and rubbish, and put straight in the bin.
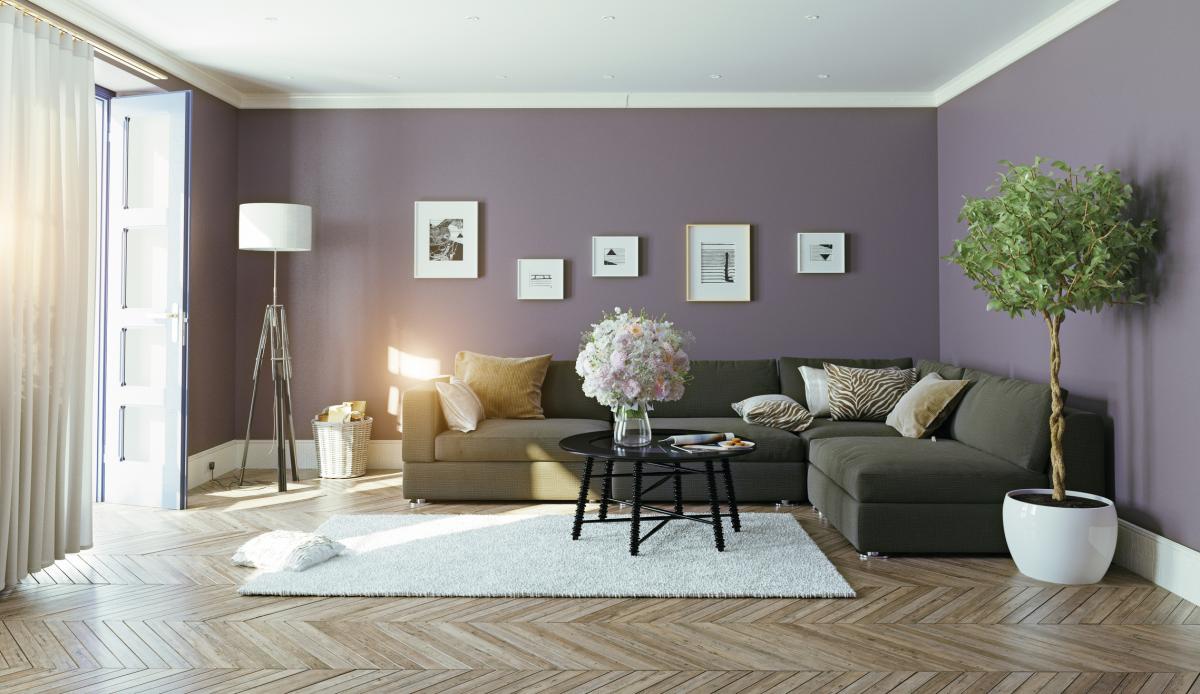
Put everything back and flop onto the sofa for a well-earned cup of tea.


Comments: Our rules
We want our comments to be a lively and valuable part of our community - a place where readers can debate and engage with the most important local issues. The ability to comment on our stories is a privilege, not a right, however, and that privilege may be withdrawn if it is abused or misused.
Please report any comments that break our rules.
Read the rules here