


It’s actually one of the easiest DIY jobs going - providing you know how. Harriet Evans asks an expert
ARE you a self-confessed DIY disaster? According to a new survey by home heating oil supplier Emo Oil, more than half of UK adults admit they would call an expert before attempting to fix a DIY issue in their home themselves. And changing a plug is the top DIY debacle, with 67% saying they wouldn't know how to do the job themselves.
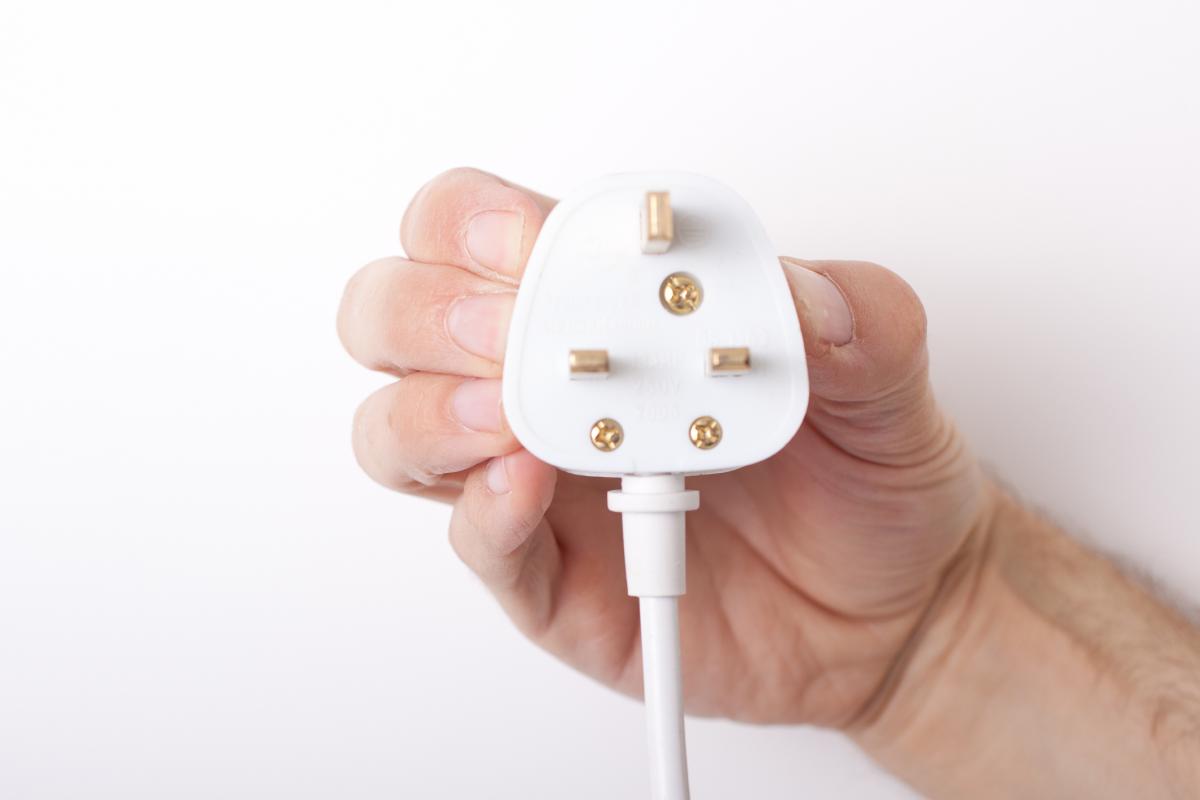
Finding a damaged plug in your home is a very common occurrence, however, and sorting it out is relatively easy with a bit of know-how and the right tools.
"Changing a plug is a fairly straightforward job but, as always, use common sense and be wary," says Carl Meredith from MyJobQuote.co.uk, a website that enables people to search for local tradespeople in their area. "Safety needs to come first, and of course, if you're not sure, call in the professionals."
Want to learn how to change a plug? Firstly, you'll need a suitable screwdriver, and although this is a straightforward task, remember you're working with electrics here - so pay attention! The wires are coloured differently, so you know what goes where. DIY expert and TV presenter Jo Behari (jobehari.co.uk), talks us through a step-by-step guide...
1. Unscrew the plug - "Unscrew and remove the cover of the plug and the flex clamp using the screwdriver, with the screw located in the centre of the underside of the plug."
2. Loosen the bar - "Once open, you will see a see a fuse, three terminals with small screws on, and a small bar at the bottom that's also held in by screws. Loosen this bar, because this is where the wires need to enter the plug."
3. Remove the wires - "Unscrew all of the terminals to loosen the wires so you can remove them. Do not remove the terminal screw completely, just loosen it until the wire can be pulled out. Note that if you're changing a factory-fitted plug, you'll need to cut the wires, because factory-fitted plugs are fused, which means the casing can't be unscrewed to allow you to access the terminals."
4. Trim the wires - "If you do have to cut the wires, or if they look a bit straggly at the ends, you'll need to cut them back a bit so that you're working with neat ends. Use wire cutters for this." You should strip roughly 0.5-1cm off of the end of the blue, brown and striped wires, so that the copper insides are clearly visible.
5. Re-wire the plug - "Pass the wires through the hole or space at the bottom of the new plug, unscrewing any wire holders that may keep the wire in place, and then insert each wire into the correct terminal (they should be labelled). You may have to twist the ends together, so you don't have frayed ends sitting outside the terminals. You may also find it easier to remove the fuse if there is one in place, to give you more room to work."
6. Tidy it all up - "Screw the terminal screws down. If the pins that stick into the socket are removable, you may find it easier to remove it to do this. Ensure there is no copper wire exposed outside of the terminal."
7. Screw on the wire holder - "Lay all the wires flat into their channels, and screw the wire holder at the bottom back down."
8. Finishing touches - "Insert the fuse, if you removed it to work with more space while refitting the wires, and screw the cover back on. Make sure the cover is screwed on nice and tight."
Got all of that? If so - congratulations! You're now one step closer to becoming a dab hand at DIY. Don't blame us if your friends start calling you on speed-dial next time they need a plug changed though.


Comments: Our rules
We want our comments to be a lively and valuable part of our community - a place where readers can debate and engage with the most important local issues. The ability to comment on our stories is a privilege, not a right, however, and that privilege may be withdrawn if it is abused or misused.
Please report any comments that break our rules.
Read the rules here