
Keen to attempt the job yourself? Luke Rix-Standing reveals a step-by-step guide
THEY may not be the newest smartphone, or next big thing in high-speed broadband, but radiators have been getting a distinctly modern makeover.
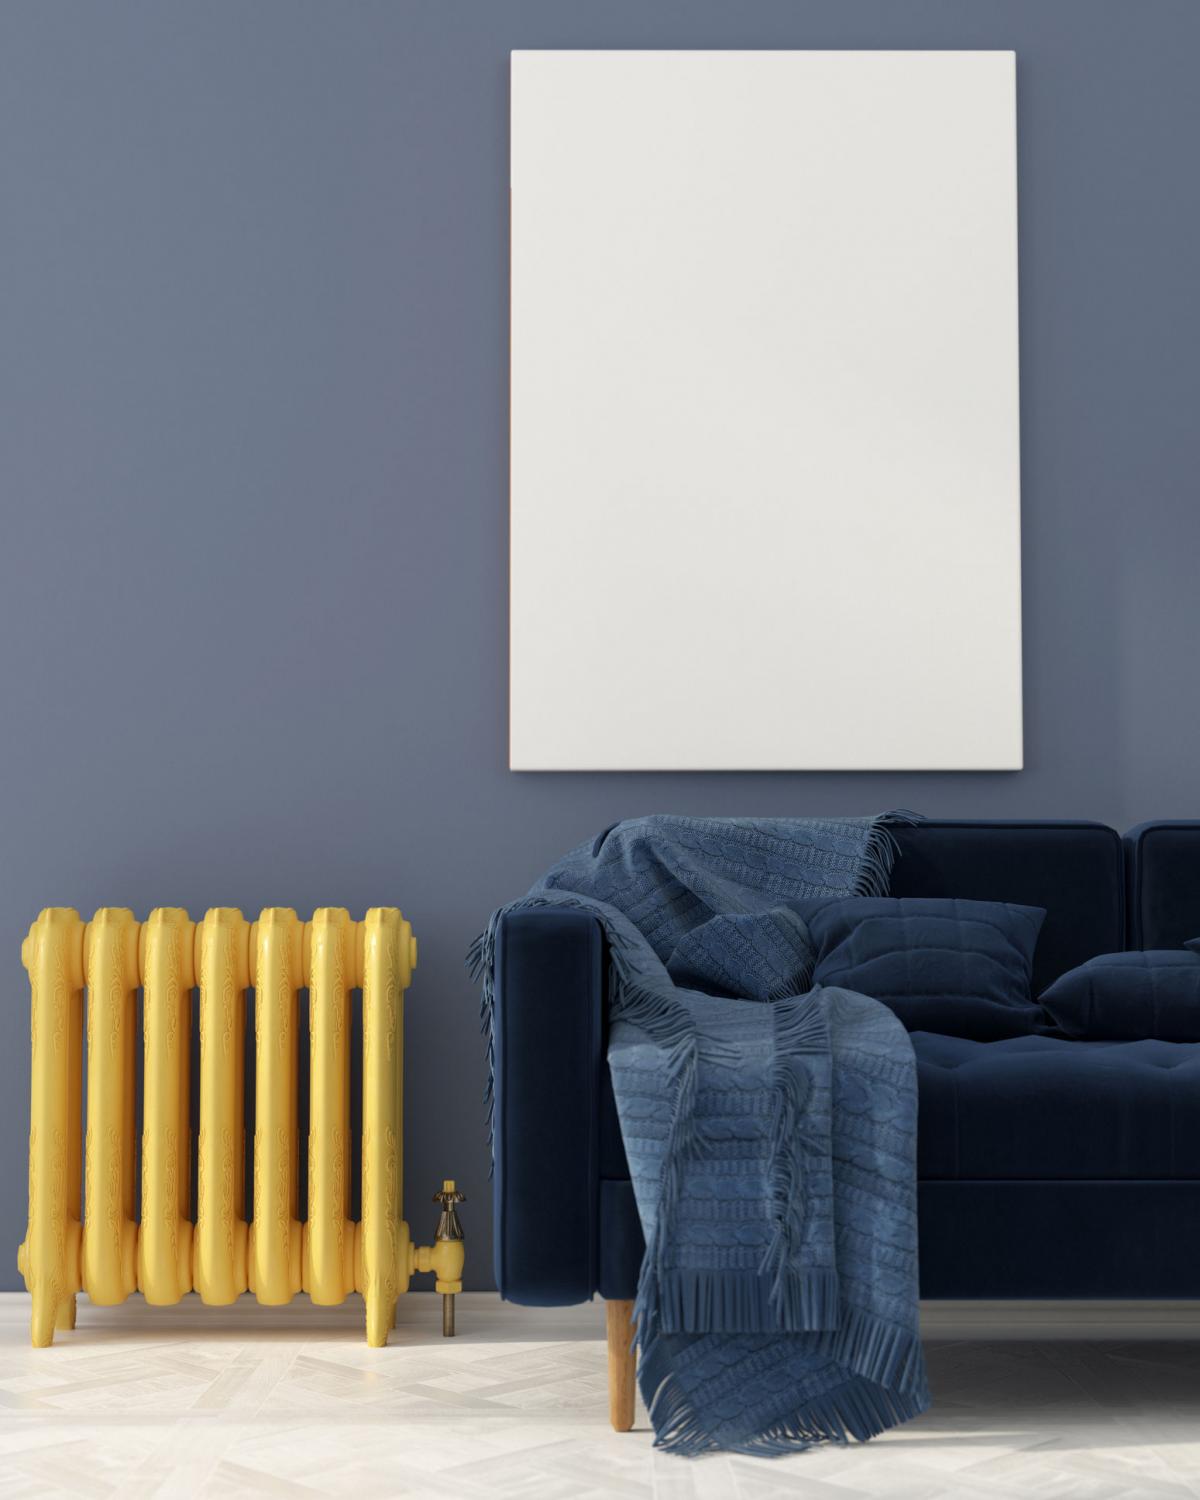
Remember those dirty-grey plastic boxes with grills at the top, or those monolithic metal bars that would have looked more at home on the set of a Mad Max movie than in your living room? These are now relics from a bygone era: The modern radiator is sleek, slim and often surprisingly stylish.
Coloured units are particularly a la mode; from the deepest crimson to the softest lilac, there is now a radiator to match any choice of aesthetic. And, the modern radiator doesn't even have to look like a radiator at all. Vertical models have become popular, either with bars stretched to the ceiling, or flattened out into a panel, while for the especially avant-garde - or those who just want to show off with their home style - they can even be sculpted into artworks.
Choosing a new one? Most radiators have similar underlying technology, so your main technical concern should be size. You don't want a titanic-power radiator turning your box room into a sauna, nor a radiator the size of a chihuahua struggling to warm up your banqueting hall. However good it might look, the size of your unit should be proportional to the size of the room.
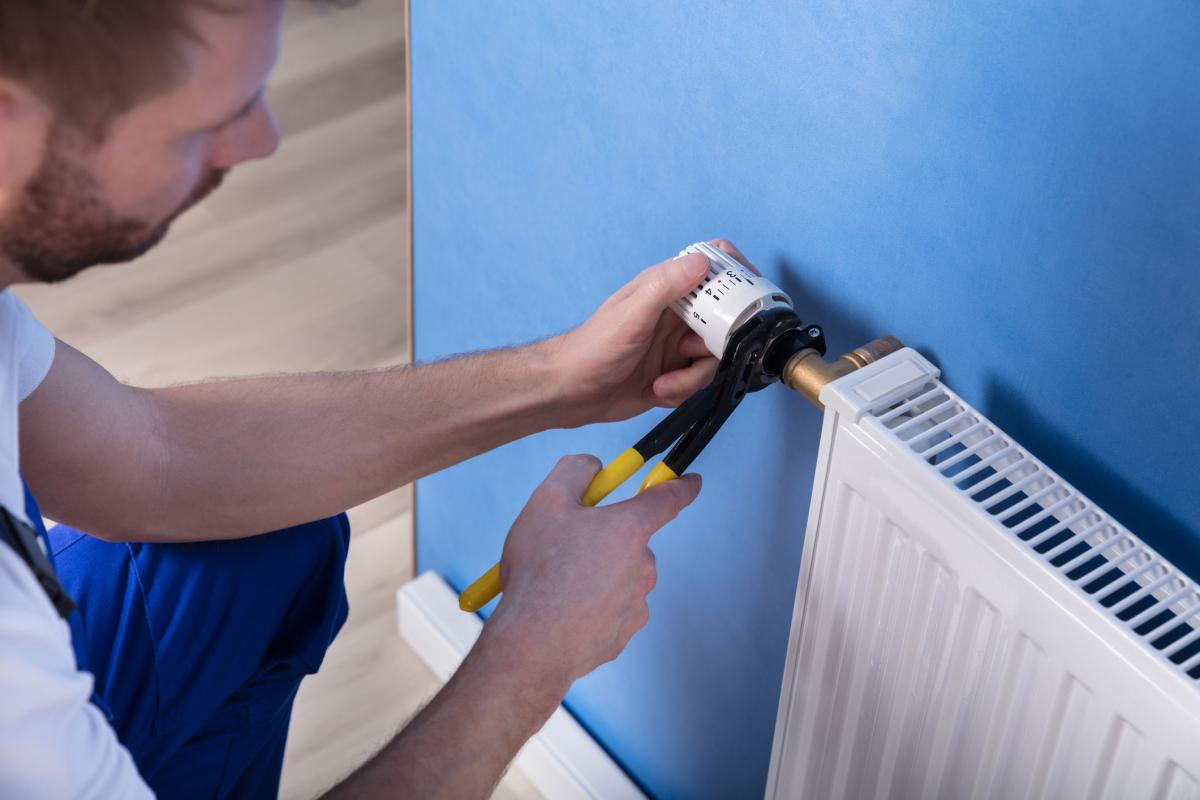
So, let's say you've negotiated the radiator-buying market. You've selected your supplier, picked out a sensible size, and found a radiator just the right shade to match the curtains. How do you install it? You could hire someone to do it, or you could use our step-by-step guide.
Be warned, however: Your radiator is a not a piece of flat-pack IKEA furniture, and many suppliers do recommend calling in a professional plumber. Only DIY experts should attempt to install their radiators themselves. Here's how...
Make sure you're all set with the right tools
First things first, this is going to be a pretty technical process, so you'll need a good portion of your toolbox at the ready. Before the waterworks begin, assemble the following:
Hose, waterproof sheeting, spanner, screwdriver, drill, tape measure, spirit level, roll of PTFE tape, corrosion inhibitor (speak to your supplier about this), 2 radiator valves, rawl plugs, new radiator
Turn off the tap
Start by switching off your boiler at the source, then find the 'isolation point' - most likely a stopcock that, when closed, should block any new water from entering your heating system during the process. Exactly what and where this valve is varies from system to system, but it is often found in the loft, attic, or near your water tank.
Drain your system
Now that your heating system can no longer replenish itself, locate the drain-off valve somewhere near the bottom of your boiler (although again, this varies). Secure a hose over the end of the valve and point it somewhere water-friendly, like a sink, drain or flowerbed.
This is one the riskier moments in the process. "The hose can easily leak or slip off," says Pat Murphy, from London-based plumbing firm Pimlico Plumbers, "so cover the floor before you begin. Plastic sheeting, waterproof cloth, towels - anything absorbent." If the radiator valve itself starts leaking, abort mission and call in a professional.
Remove the old radiator
When all the water has drained from your system. you're ready to remove your old radiator from the wall. Uncouple it from the pipework by undoing the valve, then unscrewing the nut connecting it to the radiator.
Most radiators aren't mechanically connected to the wall, so once it's divorced from its pipework, you can simply lift it up and away from its moorings (it might be heavier than it looks, so be careful). You can now remove the brackets.
Measure carefully before hanging the new radiator
By measuring the dimensions of your new radiator, you should be able to sketch an outline on the wall, corresponding as closely as possible to your existing pipework. Check your workings carefully - the bracket markings should be equidistant from the pipes, equidistant from the ground, and the correct corresponding distance from each other.
Once you're happy with the height and width of your diagram, use your spirit level to check your proposed bracket locations are absolutely level, and drill holes in the appropriate locations for Rawl plugs. You can then attach your brackets, and from them, hang your radiator.
Connect to the plumbing
If by some stroke of luck your new radiator aligns perfectly with your existing pipework, then carry on. If not, you can make minor local modification to the pipework (ie jiggle it a bit), but any major structural change should be undertaken by the pros. "The best joins are true, straight and level." says Murphy. "If they're not closely-aligned, you're more likely to have a leak."
No one wants a worn-out valve undermining their sparkling new heating system, so it's advisable to purchase new valves as well (often sold separately, ask your supplier what type you need).
Use the accompanying nut and olive to screw your new valves onto the exposed pipework, securing them with your spanner. "You might want to put some joining compound around the olive," adds Murphy, "it acts as a waterproof cushion around the join."
The valve-radiator join is under much higher pressure, so it's time to give your PTFE tape its long-awaited debut. Tightly wrap the tape clockwise around the end of the valve two or three times. When the valve's screwed into the tail, it should be snug, tight and secure. Check all your joints one more time, and if everything seems solid, you're ready to go.
Fire it up
Make sure your drain-off valve is closed, then locate the dedicated fill-in point in your system - usually at a high point in your pipework. Re-fill the system slowly - having come this far, you don't want a build-up of pressure squirting dirty water all over the walls. This is also a good opportunity to secure your plumbing's long-term health by introducing some corrosion inhibitor (again, talk to your supplier).
Once your pressure gauge has reached its requisite point, close your fill-in point, release your isolation point, and turn on the boiler.
Assuming you're still 80 per cent dry, congratulations. You can bask in the warmth of your new heating system, and a job well done.


Comments: Our rules
We want our comments to be a lively and valuable part of our community - a place where readers can debate and engage with the most important local issues. The ability to comment on our stories is a privilege, not a right, however, and that privilege may be withdrawn if it is abused or misused.
Please report any comments that break our rules.
Read the rules here