
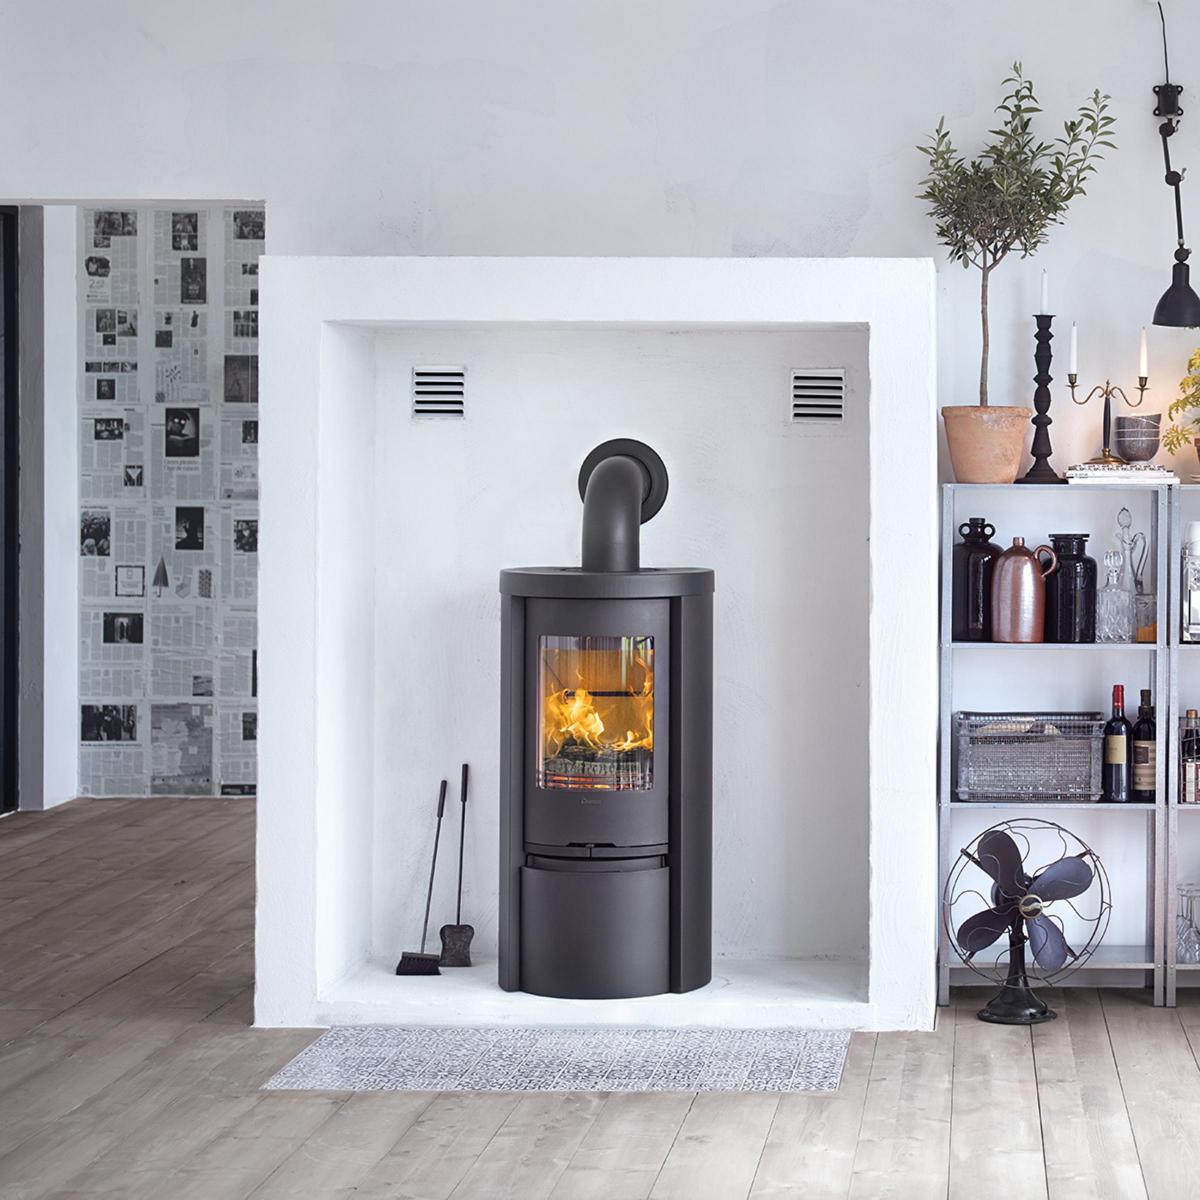
Installing a wood-burning stove is one of the best home improvements you can do in winter, but there are lots of things to consider first - not all of them obvious
1. Before installing a wood burner, you may have to line the chimney (unless it's already lined). A chimney integrity/smoke test will establish if the chimney flue is fit for use, or if smoke and other harmful emissions, such as carbon monoxide, could escape from it into your home through cracks and other faults. Unless repairs can be done, a chimney that fails the test will have to be lined. "As well as preventing the flue leaking smoke and fumes, a chimney liner stops tar staining through chimney walls, helps the flue to draw properly and improves updraughts," says Phil Wood, country manager for the UK and Ireland for wood-burner manufacturer Contura (www.contura.eu/english). "In older properties, lining the chimney is especially recommended."
2. It's also important to find out if you live in a smoke control area (see www.gov.uk/smoke-control-area-rules). A smoke control area means you can't emit smoke from a chimney unless you're burning an authorised fuel (see smokecontrol.defra.gov.uk/fuels.php), or smokeless fuel (such as anthracite), or using a Defra-exempt appliance. Lots of wood burners are Defra exempt, but not all. In addition, many wood burners can only burn certain fuels, so find out before buying one.
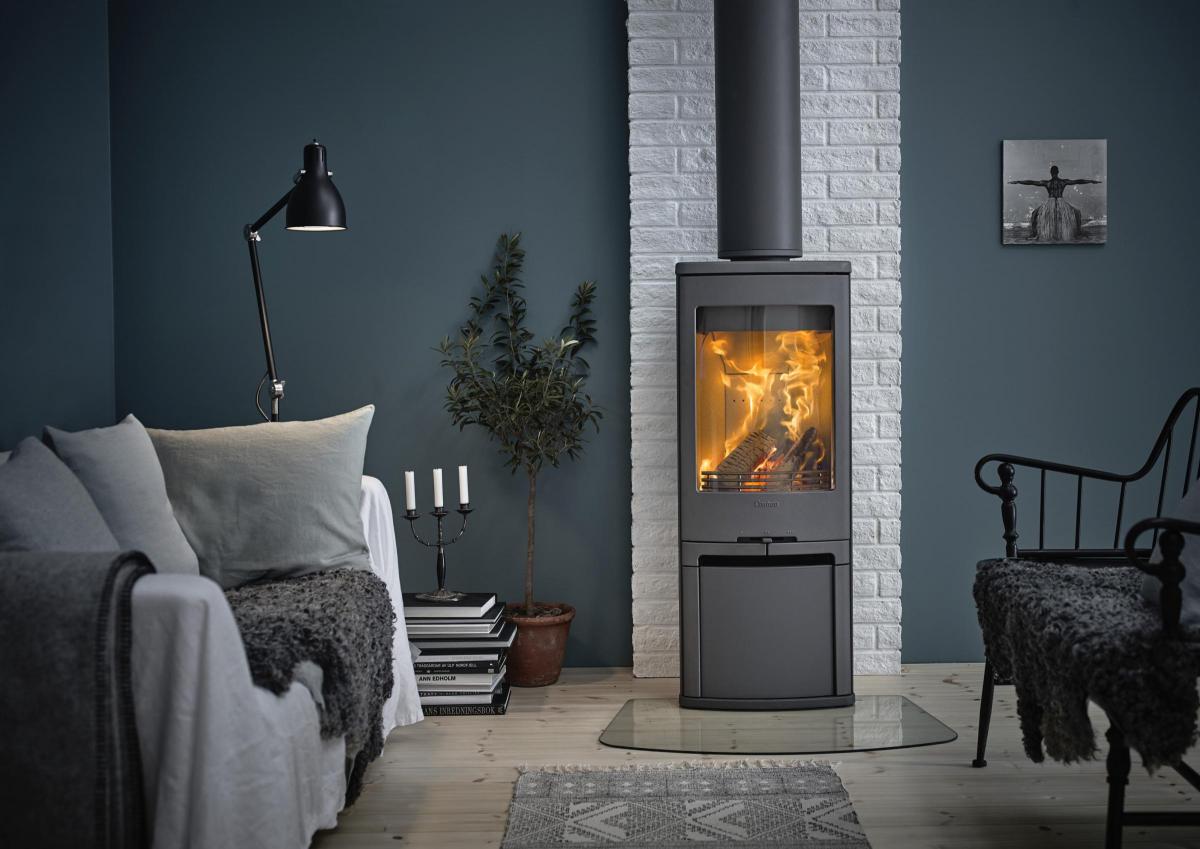
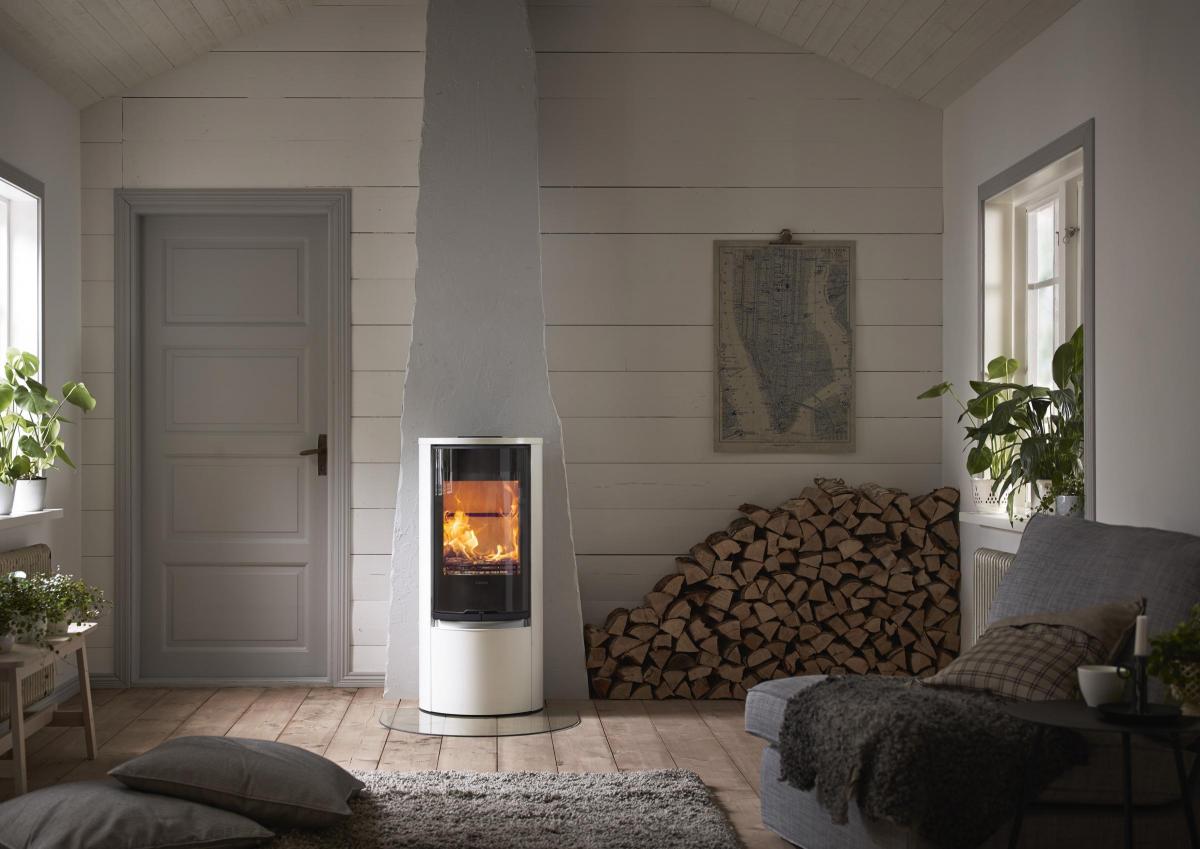
3. Depending on the style of your room and wood burner, a 'floating' wooden beam can look great fixed above the opening in the chimney breast (see my how-to tip below). However, the underside of any beam, lintel or shelf, etc, made of a combustible material must be at least 450mm away from the top of the wood burner - check with the manufacturer or installer for their requirements. If you don't have enough space between the two, non-combustible wood-effect beams, such as ones made of metal, are safe to fit closer to the top of the wood burner, but are harder to find and can be expensive.
4. Your wood burner will need to sit on a decorative hearth, often a stone slab, such as marble, granite or slate, which may already be in place. "For wood-burning stoves, the hearth must be constructed from a non-combustible material with a minimum thickness of 12mm," says Wood. "Where the floor temperature could be raised above 100C, there must also be a constructional hearth of at least 125mm below and in front of the wood burner. The size of this can differ between manufacturers, so it's worth checking." A constructional hearth is typically a concrete hearth below the decorative hearth, which you often find in period properties with wooden floorboards, but may also be a concrete floor, for example.
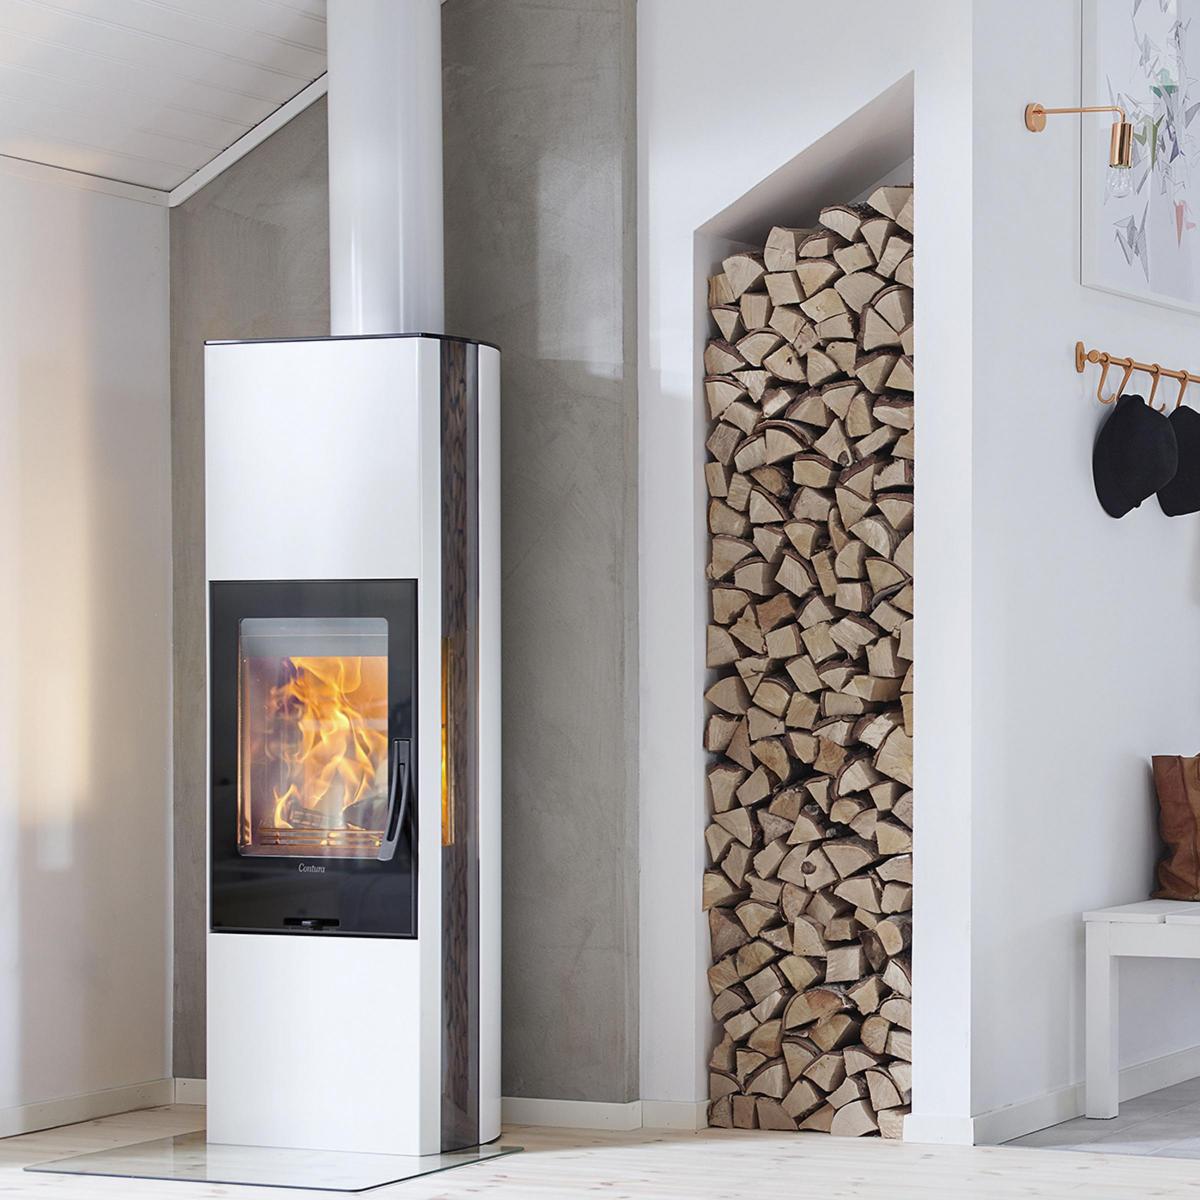
5. Keeping your wood burner clean is vital to protecting it and the chimney from contaminants. "This will improve the wood burner's performance and efficiency, and increase its lifespan," says Wood. "We recommend getting a chimney sweep to clean the chimney at least once a year to stop soot building up and ensure the fire chamber and flue are kept free from blockages." He continues: "Also burn high quality kiln-dried wood, if possible, and have good ventilation in the room to allow heat to circulate effectively." Extra ventilation isn't usually required for wood burners with a 5kW or less output, but for ones with a higher output, a permanent air vent to the outside is needed in the room to allow proper combustion in the wood burner.
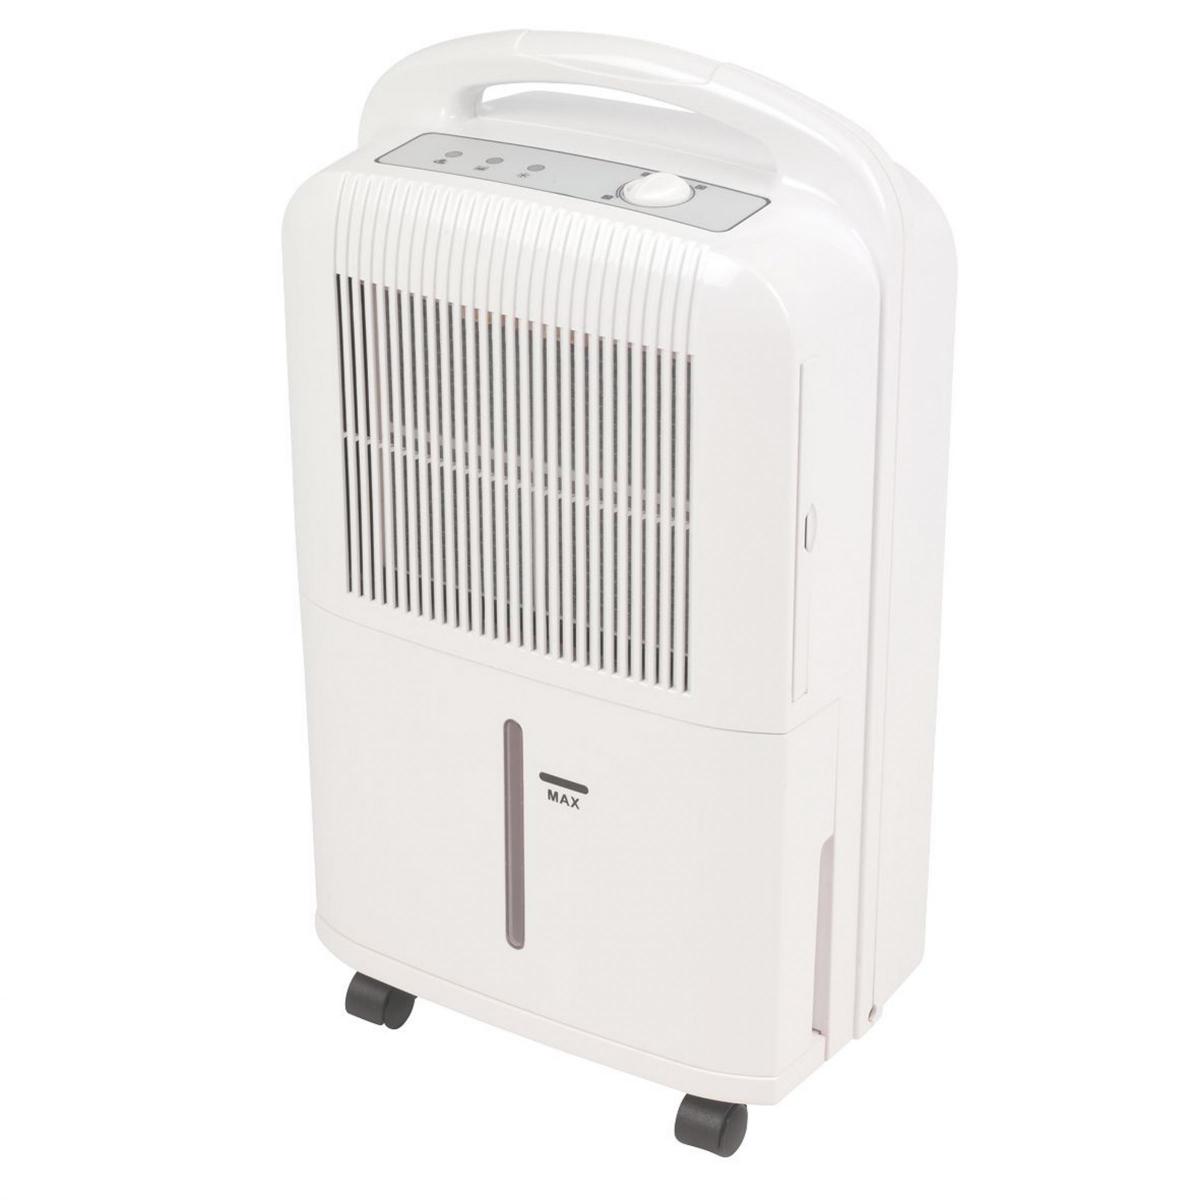
PRODUCT OF THE WEEK
If you want to dry new plaster quickly, or have a damp and condensation problem at home, the WDH-122H-12R 12ltr Dehumidifier (reduced to £79.99, Screwfix) will sort it out. This model extracts water efficiently and has a large, 4ltr tank - it can also drain continuously - and an anti-freeze function that's useful at this time of year. Just as importantly, it's quiet, so you can leave it on without being disturbed, and it's on wheels, so is also easy to move. This dehumidifier proves you don't have to spend a lot to get a great piece of kit.
HOW-TO TIP
To fit a solid wooden beam seamlessly above a chimney-breast opening, use concealed fixings that slot into the beam from behind and also attach to the wall, in a similar way to a floating shelf. If you're having the chimney breast plastered, you could use fixings that can be plastered over, and get the plasterer to go up to and around the beam.


Comments: Our rules
We want our comments to be a lively and valuable part of our community - a place where readers can debate and engage with the most important local issues. The ability to comment on our stories is a privilege, not a right, however, and that privilege may be withdrawn if it is abused or misused.
Please report any comments that break our rules.
Read the rules here